In this tutorial, we will discuss how to integrate KIRIM.EMAIL with other platforms through the application named Integrately.
There are two ways that you can do to integrate them, in between:
- Using 1 Click Automation
- Making your Automation.
We only discuss the first way. Then for the second way, you can try by yourself.
Using 1 Click Automation
1 Click Automation is the main feature from Integrately where we can integrate two platforms or more just in one click. .
Step 1:
Login to app.integrately.com page
Step 2:
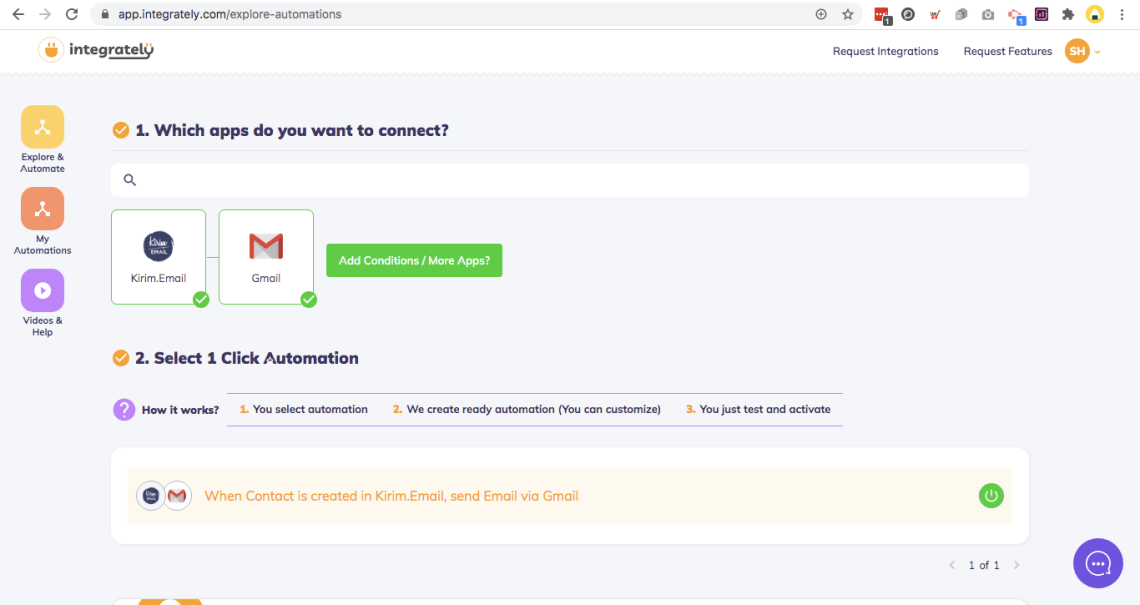
After you successfully enter the dashboard page, on the part “1. Which apps do you want to connect?”, please type KIRIM.EMAIL and click on the appearing logo.

Step 3:
After that, search for or choose another available platform to be integrated. To find it, you can pick one of two methods, in between:
- Choose one or several platforms from dozens of platforms available. You can choose this method if you already know what platform you want to integrate with KIRIM.EMAIL.

- Choose one from hundreds of integrations which already provided by Integrately. You can choose this method if you still don’t know what platform to integrate with KIRIM.EMAIL.

In this tutorial, we choose the first one and the platform that we choose is GMAIL.
Step 4:
After that, the integration option between KIRIM.EMAIL and GMAIL will appear. It reads “When Contact is created in KIRIM.EMAIL, send Email via Gmail.” You can click on that option.
Step 5:
Please wait for a while. If your integration success, you can see a pop-up notification to inform you that your integration is ready to use. Click the Check It Now button to continue.

Step 6:
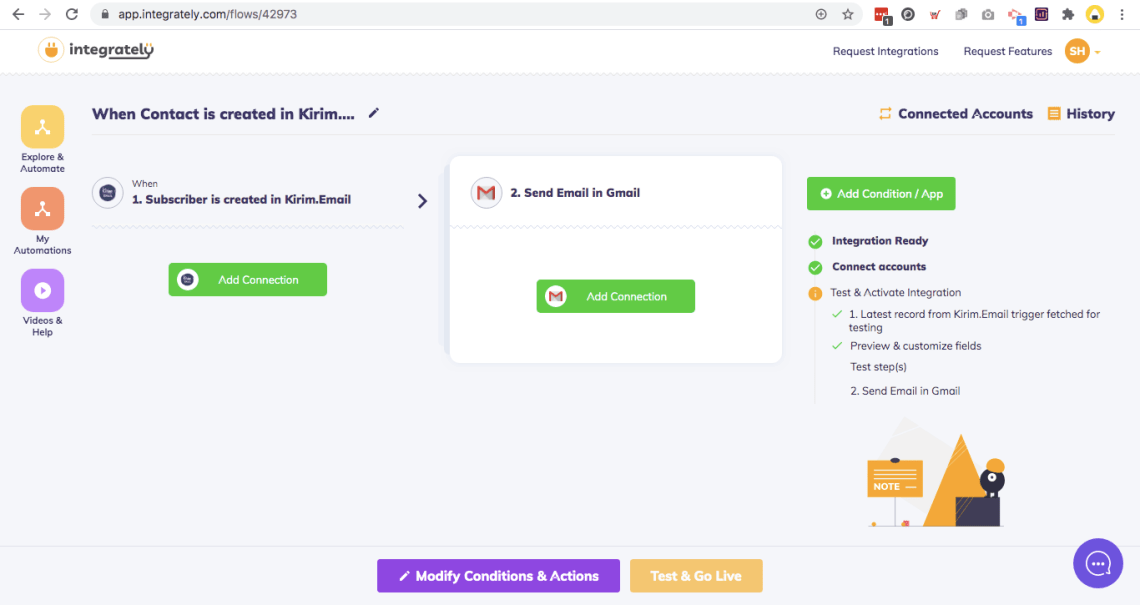
Next, you are asked to make a connection on the platform that you will integrate.
Click on the Add Connection button on KIRIM.EMAIL platform.
After that, follow the instruction in the picture below. If so, you can check on the “I have sent a test recorder AFTER setting URL in KIRIM.EMAIL’ part, then click on the Test Connection button.

Step 7:
Later on, on the Gmail platform, click the Add Connection button. After that, follow the instruction until the end.

Step 8:
After everything is connected, then you can determine the fields in GMAIL based on the available options, which are sourced from the fields in KIRIM.EMAIL.
For example, please look at the following picture:

Step 9:
After you fill in the required fields, click on the Test & Go Live button. And if it is successful, a notification will appear as shown below.


Thus, every time there is a contact who subscribes to your list, the Integrately system will automatically send an autoresponder email according to what you write. And as the email sender is the GMAIL account that you connected in step 7 above.
Finish.